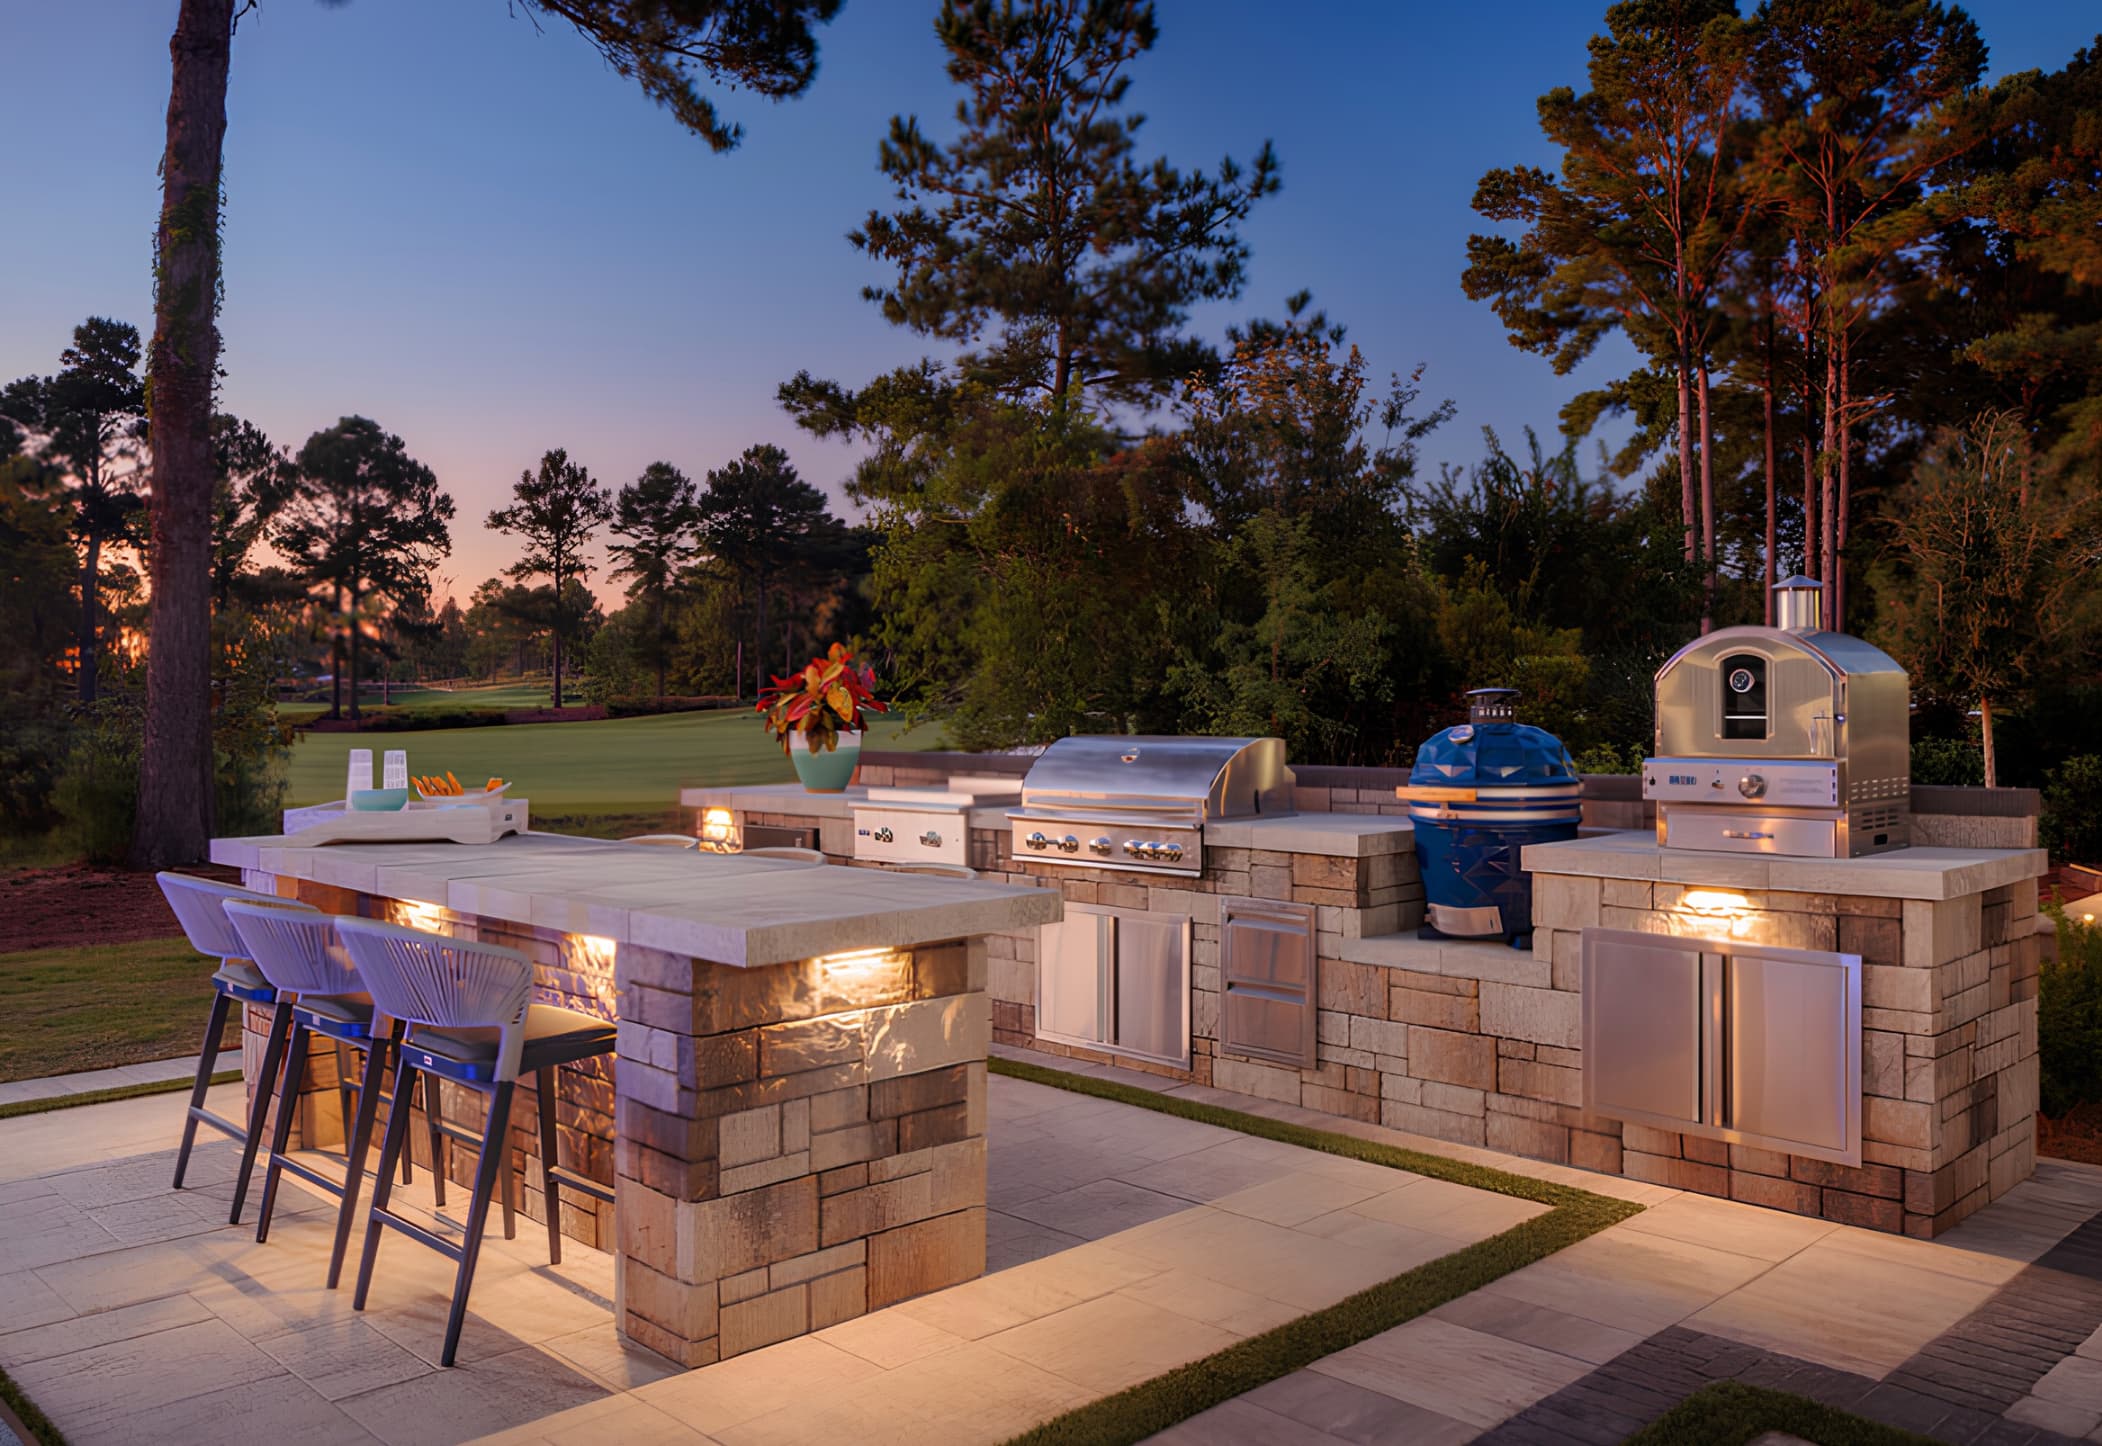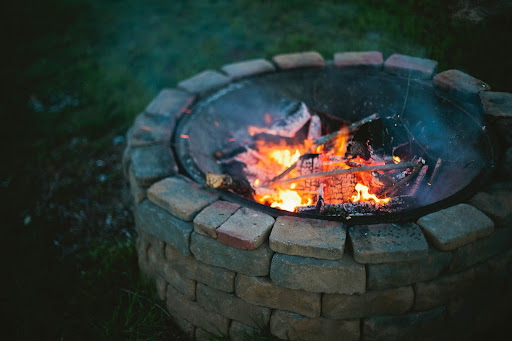
There’s not a hotter commodity to have in your backyard than a fire pit. Perfect for gathering around for drinks and s’mores on a cool evening, a fire pit is one of the most functional and attractive ways to elevate the landscaping of your outdoor space.
If you have been envisioning a firepit in your yard to bring friends and family together but don’t know where to start with building one, look no further! Get started on building one today with the steps below.
1. Call 811 Before Digging and Check Your Building Codes
Before you begin to dig out a fire pit anywhere in your yard, it’s crucial to call 811. A representative will then come out to your property and mark where utility lines are buried. If your utility lines aren’t marked and you cut one by accident, you may end up with a fine.
You should also contact your local government and HOA to ensure that your fire pit doesn’t impede on any size, location, material, or fuel restrictions.
2. Plan Your Design
An ideal fire pit is constructed with flameproof material on a flat and level surface at least 25 feet away from your house or a tree. While some local ordinances require a firepit to be surrounded with sand or gravel (another important reason why you should call your local government or HOA), others can be bordered with stone or pavement. It’s important to plan this well ahead of construction so that you know exactly what materials to buy and where to place your firepit.
3. Build a Foundation
If you’re building on grass, use a rebar stake, string, and spray paint to create a compass and mark the circumference of your firepit circle. You’ll then want to dig out 2-3 inches of grass that are within the fire pit circle, and then compact the soil that’s leftover using a hand tamper. While compacting, be sure to use a level to make sure the ground is even, and adjust the soil accordingly. After forming an even soil base, you should add around 2 inches of gravel to the fire pit base and spread it evenly. Once the gravel is spread out, wet the base with water and tamp it down, then add another ½ inch of base and tamp it again, ensuring that the base is level.
4. Set the Fire Pit Stone Ring
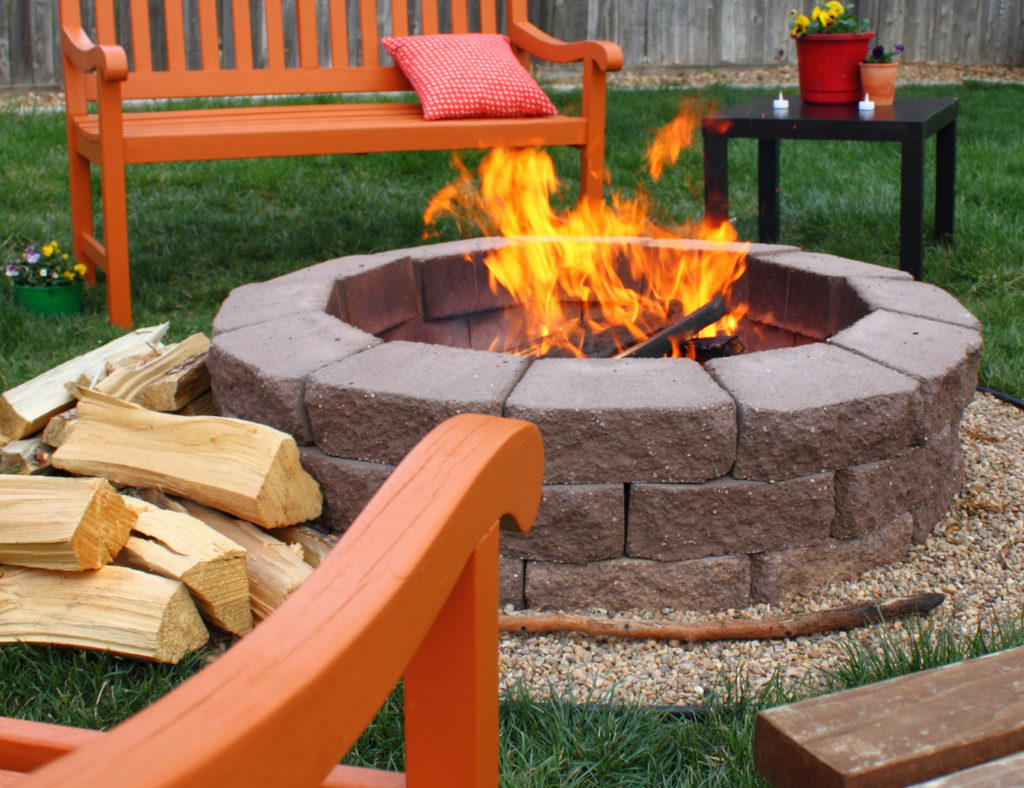
Now that your foundation is set, it’s time to start laying the stones. Lay the first row of stones in place, making sure that they are touching. Then set your fire pit ring insert in the middle of the stones, ensuring that it fits well and is level. After this, remove the ring and set the set row of stone by staggering it with the first row. You’ll then want to add construction adhesive to the blocks by removing two of them at a time, applying the adhesive, then replace the blocks.
5. Place and Secure Last Row
Using the same technique from the second row, set the third and final row of stone in place. Be sure to let the adhesive settle according to its instructions before setting a fire.
6. Place the Ring Insert
Set your metal fire pit ring inside of the fire pit, then finish your pit by filling it with lava rock up to the bottom of the metal ring insert.
7. Enjoy a Nice Fire!
Throw some logs into your fire pit and light it up!
Ready to begin building your backyard fire pit? Let our team of experts at Bianchi Brickyard and Landscape Supply help you pick out the best materials for your project. Not into doing it yourself? No worries! Stop by and check out our full Breeo lineup!